
The first thing I do whenever I am working on a base is use some masking tape to cover the slot. I do this even if I intend to use the slot as if the metal tab on the figure doesn't fill the entire slot the gap is covered with tape.

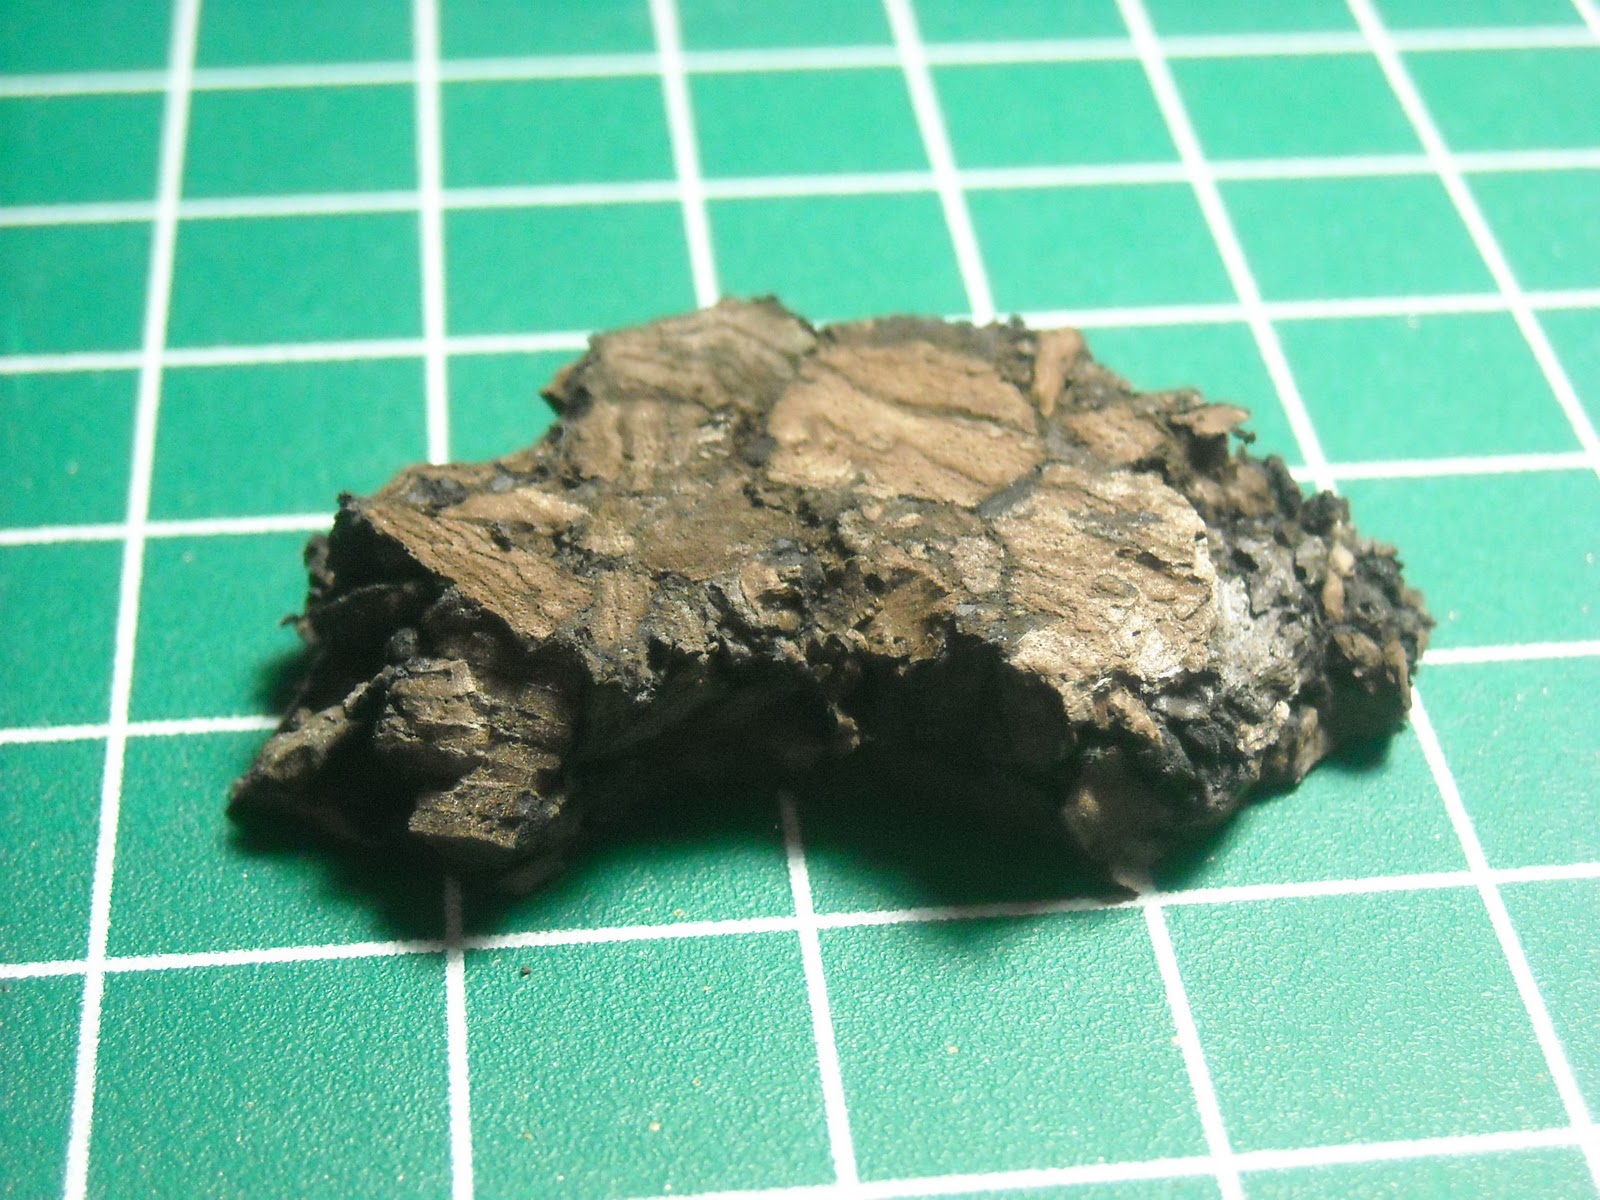
At this point I grab some cork and start ripping. I use 2 different corks when I work on bases. The lighter colored one I typically use for character solos and the sort whereas the dark cork I use for 'locks/'casters as it is thicker and gives added height to the more important characters. Seeing as Gudrun is big enough already and just a solo I went with the thinner cork. I tore the piece of cork to match Gudrun's footprint. I picked up both of the cork sheets at a national chain craft store.

Here I affixed the cork to my base using my super glue. I also took a piece of scrap cork and added it up from to add some extra texture to the front of the base.

I took a little watered down white glue (I used Elmers) and put a little on the cork (will be between his feet) and on the ground area needing to be covered with "dirt".

I have a contain which has a mix of two or three different grain sands/rock which I use on all of my bases. I bought these bags years ago and still have tons left in thew container.

I dipped my base into the sand mixture fact down after I mixed it up. This got me a nice mix of fine and thick ground cover. The next step will be paint but before I move onto paint I have to let the white glue fully dry.

Oops I realized in my rush to get a base done for Gudrun I got ahead of myself. Some people like to prime their base after the sand is glued down to give it a little extra hold. I am not typically one of those people. I normally paint up my rock section prior to putting down my dirt. OK to correct this I grabbed my jar of black gesso and brushed it on over the rocked sections.

Colors used on rock. I should have arranged them the other direction but based on the photo I took I go right to left when I paint my bases.

I then use a 3 color drybrushing to paint my rock. I go from one color to the next without cleaning my brush to allow some natural blending of color. The first two drybrushes are on the heavier sided and I go a little lighter with my final highlight.

Colors I use for my dirt sections. I took this photo correctly as I work from left to right in color selection here. I used to use GW brown ink instead of the VGC sepia but as GW doesn't make there ink anymore I had to find a substitute.

Three color drybrushing just like the rock section. Again I do not clean my brush between colors and just move on to the next when ready.

Mostly finished based. I clean up the rim with a little black paint. All I need now is a finished model to mount and then add a little static grass.
The wife is going out to do some Christmas shopping today which puts me on daddy day care. I don't for see much painting time today but we shall see. I haven't made any more progress on Gudrun or the Boomhowlers since they were last photoed all I have done is get this base ready.
No comments:
Post a Comment