Currently on the painting table

On the painting table: Batman Miniature Game!
Showing posts with label step by step. Show all posts

Monday, March 25, 2013

Building Some Walls

OK so I mentioned the other day that I was working on some new rock walls for my troll army. I lost the two walls I had previously built at Templecon this year. I thought through my lists and figured I could use four or five walls just for my armies. Since I was going to be making a bunch of walls I figured I'd do a step by step and put it up here for y'all to look at.

First I grabbed a piece of plasticard. This was a spare piece I had left over from some other project.
 
 
It just happens that is was already cut to 4" wide.
 
Wall templates are 4" x 0.75" and since I already had my length set I started to measure out 0.75" strips. I marked these with a mechanical pencil then went back and scored the plasticard with my exacto knife and straight edge. If you haven't worked with plasticard you do not have to cut all the way through the piece. After putting a nice scoring line you just have to apply some pressure and it will snap off cleanly along the line you previously marked.  


  Like a glove.
 
Now it was time to go to the terrain drawer and grab a sheet of cork. When I was there something caught my eye and spun me off in a different direction for a little bit.
 
I bought this box of Tamiya sandbags well over a year ago with some plan for them that I never got around to (don't even remember what). After getting my trenches from Rob last Friday I thought one sandbag wall for Gunnbjorn would go very well thematically with the sandbags he put n the top of his trenches.

When I opened the box and poured out the contents this is what I had inside. As you can see I put some other parts in the box as well (also from Tamiya).

I did a little mock up with the bags then started to glue

 
All put together and one again the sluggers look at me menacingly to finish painting them.

Next I decided to mess around with some of the brick sections. I drilled some bullet holes and scratched in some battle damage.

Played around with mock up and threw a few extra sandbags in there for good measure.

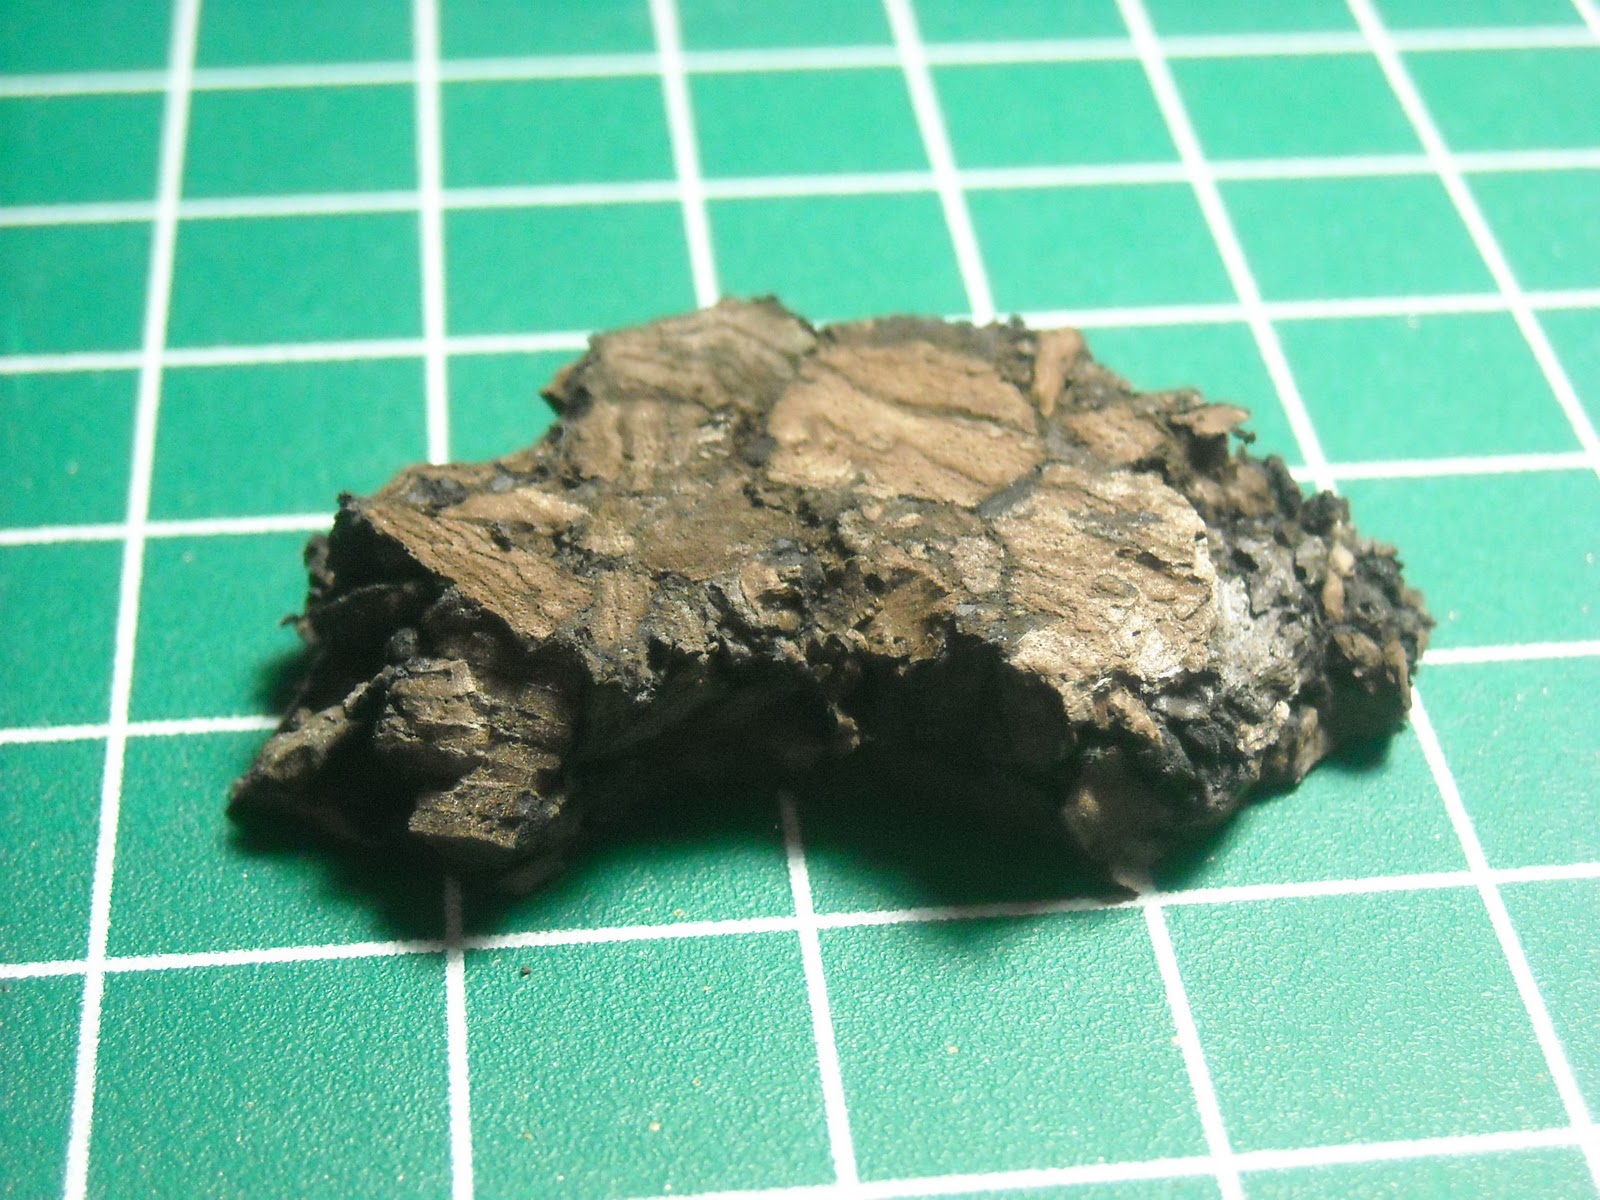
OK now to what I intended in the first place. I grabbed the cork board and began to rip strips off that were roughly the size of my plasicard sections. .

I stacked these up until I got a design I was happy with. To keep the tops from being perfectly flat I glues some of the little scrap pieces of cork on top 

Lastly I head down to the cave and primed all five wall sections with Vallejo surface primer black primer via the airbrush. I have three more walls to build (making two for Oxyguy and his Gorten army) then it will be on to painting which I will cover later.

If you need some walls this is a very simple project that yields nice results (in my opinion) with more character than a store bought wall. It helps give those little personal feels to an army that says this is my army. OK once I get to painting these bad boys I will put up some step by steps for y'all to check out.

Thursday, December 15, 2011

Gudrun Build-a-base

Since I intend to be able to field Gudrun this weekend I need to get him a proper base. Since I am going to be building one now I figured I do a step by step of my base building. This is my take on building bases from the multiple tutorial I read in the past most notably from the old brushthralls site (I loved that site).


The first thing I do whenever I am working on a base is use some masking tape to cover the slot. I do this even if I intend to use the slot as if the metal tab on the figure doesn't fill the entire slot the gap is covered with tape.


At this point I grab some cork and start ripping. I use 2 different corks when I work on bases. The lighter colored one I typically use for character solos and the sort whereas the dark cork I use for 'locks/'casters as it is thicker and gives added height to the more important characters. Seeing as Gudrun is big enough already and just a solo I went with the thinner cork. I tore the piece of cork to match Gudrun's footprint. I picked up both of the cork sheets at a national chain craft store.


Here I affixed the cork to my base using my super glue. I also took a piece of scrap cork and added it up from to add some extra texture to the front of the base.


I took a little watered down white glue (I used Elmers) and put a little on the cork (will be between his feet) and on the ground area needing to be covered with "dirt".


I have a contain which has a mix of two or three different grain sands/rock which I use on all of my bases. I bought these bags years ago and still have tons left in thew container.


I dipped my base into the sand mixture fact down after I mixed it up. This got me a nice mix of fine and thick ground cover. The next step will be paint but before I move onto paint I have to let the white glue fully dry.


Oops I realized in my rush to get a base done for Gudrun I got ahead of myself. Some people like to prime their base after the sand is glued down to give it a little extra hold. I am not typically one of those people. I normally paint up my rock section prior to putting down my dirt. OK to correct this I grabbed my jar of black gesso and brushed it on over the rocked sections.  


Colors used on rock. I should have arranged them the other direction but based on the photo I took I go right to left when I paint my bases.


I then use a 3 color drybrushing to paint my rock. I go from one color to the next without cleaning my brush to allow some natural blending of color. The first two drybrushes are on the heavier sided and I go a little lighter with my final highlight.


Colors I use for my dirt sections. I took this photo correctly as I work from left to right in color selection here. I used to use GW brown ink instead of the VGC sepia but as GW doesn't make there ink anymore I had to find a substitute.


Three color drybrushing just like the rock section. Again I do not clean my brush between colors and just move on to the next when ready.


Mostly finished based. I clean up the rim with a little black paint. All I need now is a finished model to mount and then add a little static grass.

The wife is going out to do some Christmas shopping today which puts me on daddy day care. I don't for see much painting time today but we shall see. I haven't made any more progress on Gudrun or the Boomhowlers since they were last photoed all I have done is get this base ready.